Mastering Time Lapse: A Comprehensive Guide to Creating Stunning Video Time Lapses
In the world of photography and videography, the art of time lapse has captured the attention of many enthusiasts and professionals alike. Whether you're a seasoned photographer or just starting out, understanding how to make video time lapse can elevate your content creation skills and provide breathtaking results. In this article, we will delve deep into the intricacies of creating time lapse videos, providing you with valuable insights and techniques to ensure your projects stand out.
What is Time Lapse Photography?
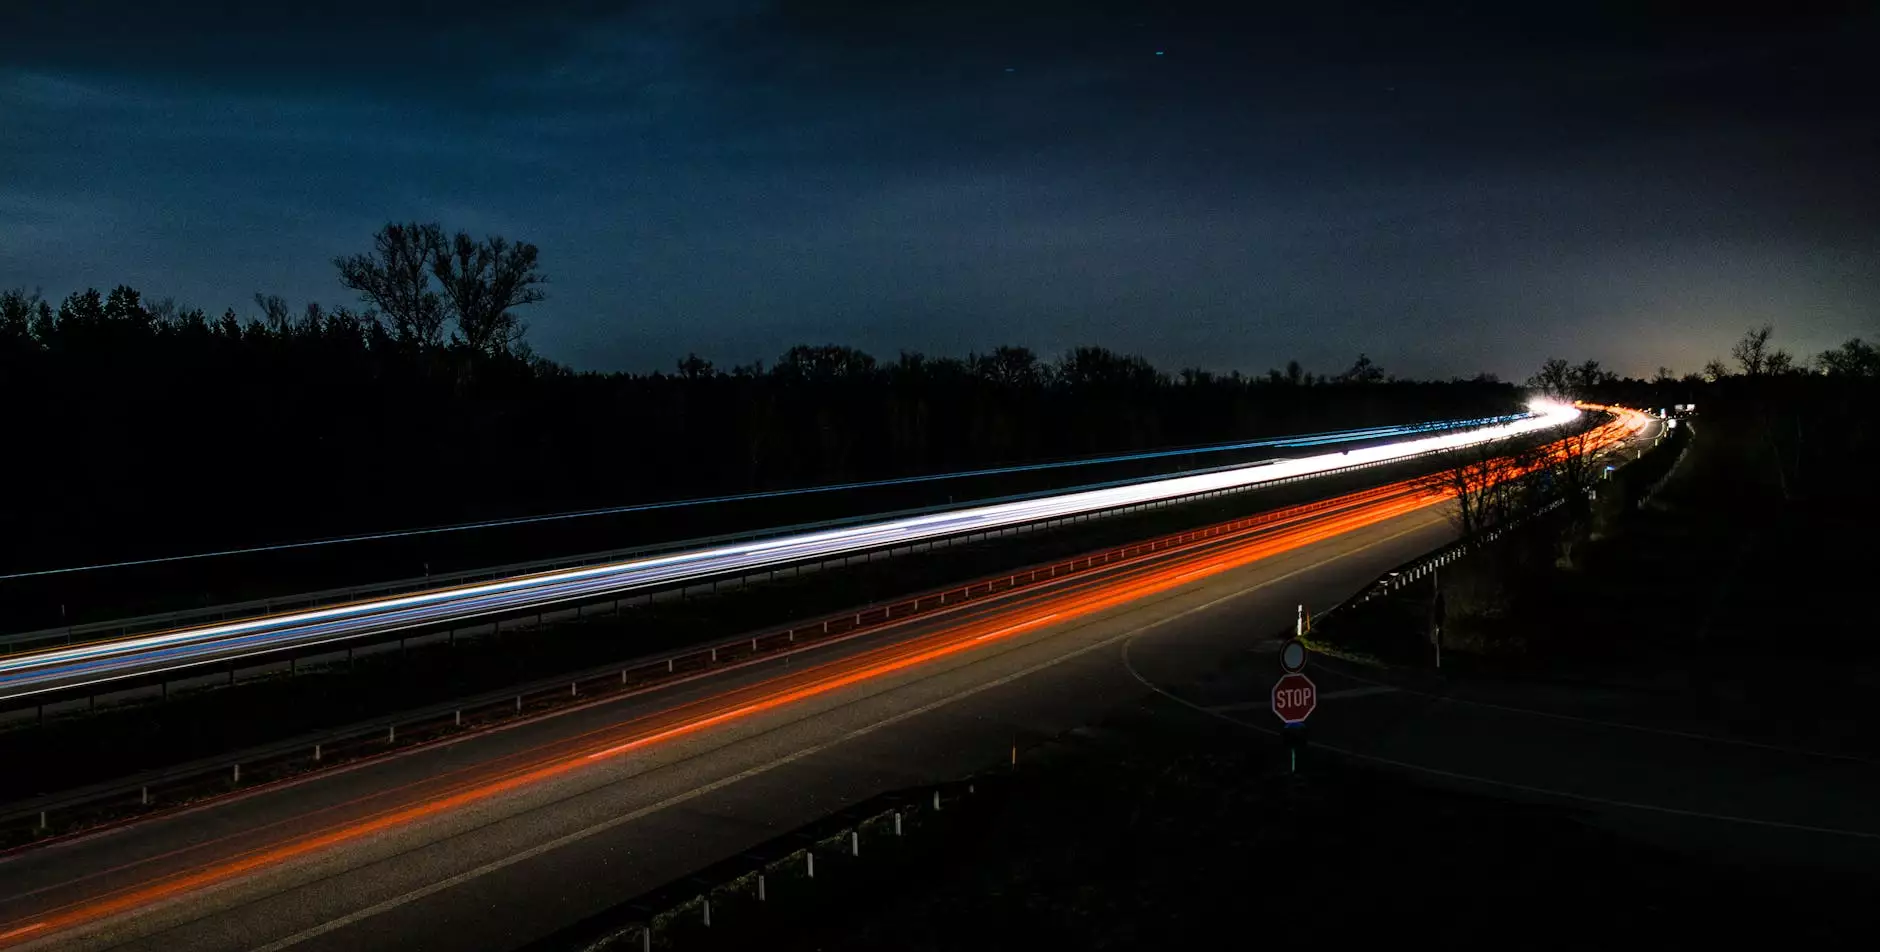
Time lapse photography is a technique where the frequency of capturing images is significantly lower than the frequency used to view the sequence. This results in a video that showcases a long passage of time in a condensed form, revealing changes that are typically too slow for the human eye to perceive. From blooming flowers to bustling traffic, time lapse videos can illustrate an array of captivating transformations.
Benefits of Creating Time Lapse Videos
Creating time lapse videos offers numerous benefits for both personal and professional projects. Here are some compelling reasons to incorporate this technique into your repertoire:
- Visual Storytelling: Time lapse allows you to tell compelling stories in a short span of time, making it an excellent tool for marketing, presentations, and social media.
- Added Engagement: Viewers are often mesmerized by the swift visual changes, leading to higher engagement rates on platforms like YouTube or Instagram.
- Creativity Enhancement: Experimenting with time lapse can unlock new creative avenues, pushing you to think differently about your subjects and environments.
- Versatility: Time lapse can be applied in various contexts, including nature, architecture, events, and urban settings.
Essential Tools for Time Lapse Photography
Before you can learn how to make video time lapse, it’s crucial to have the right tools and equipment. Here’s a list of essentials to get started:
1. Camera
Your choice of camera can significantly impact the quality of your time lapse videos. While DSLRs and mirrorless cameras are preferred for their image quality and manual settings, even smartphones with good camera capabilities can produce decent results.
2. Tripod
Stability is key in time lapse photography. A sturdy tripod is essential to avoid any movement during the shooting process. Consider using a tripod with adjustable height and angles for versatile positioning.
3. Intervalometer
An intervalometer is a device that allows you to set the intervals at which your camera takes pictures automatically. Some cameras have built-in intervalometers, but external ones can offer additional flexibility.
4. Software
Editing software like Adobe Premiere Pro, Final Cut Pro, or even easier options like iMovie can help you compile your images into a time lapse video. These programs allow you to adjust frames per second, add music, and fine-tune your video’s aesthetics.
Steps to Make a Stunning Time Lapse Video
Now that you’re equipped with the necessary tools, here’s a step-by-step guide on how to effectively make video time lapse:
Step 1: Planning Your Shoot
Successful time lapse videos begin with thorough planning. Consider the following:
- Choose Your Subject: Identify what you want to capture. It could be a vibrant sunrise, construction site, or even a busy street scene.
- Time of Day: Natural lighting plays a significant role in photography. Early mornings or late afternoons provide golden hour lighting that enhances visual impact.
- Duration: Decide how long your time lapse should run based on the changes in your subject matter.
Step 2: Setting Up Your Camera
Once your planning is complete, it’s time to set up your camera.
- Stabilize: Set up your tripod in a secure location where it won’t be disturbed.
- Camera Settings: Use manual focus to prevent the camera from automatically adjusting focus during the shoot. Choose a low ISO setting to reduce noise and maximize image quality.
- Exposure Settings: Maintain consistent exposure throughout the shoot. Consider using neutral density filters if shooting in bright light.
Step 3: Taking Photos
Using your intervalometer, set the intervals at which your camera should capture images. This can range from one shot per second to one shot every few minutes, depending on the speed of change you wish to capture.
Step 4: Compiling the Images
After you’ve collected your images, import them into your editing software. Adjust the settings to create a smooth time lapse effect:
- Frames per Second (FPS): A common FPS for time lapse videos is 24 or 30 frames per second. Higher FPS yields faster playback speed.
- Add Sound: Consider adding a soundtrack that complements the visuals to enhance the viewer's experience.
- Color Correction: Adjust contrast, saturation, and brightness to make your images pop.
Step 5: Exporting Your Video
Finally, export your project in the desired video format. Ensure it’s optimized for the platform where you intend to share it, whether it be YouTube, Instagram, or your business website like bonomotion.com.
Tips for Creating Impactful Time Lapse Videos
To further enhance your time lapse production, consider the following tips:
- Experiment with Angles: Changing your camera’s angle can provide fresh perspectives and create more dynamic visuals.
- Incorporate Movement: If feasible, include camera movement. Use a slider or motion control system to add a dramatic effect to your footage.
- Keep it Short: While it can be tempting to showcase extensive periods, concise videos of 20-30 seconds are often more engaging.
- Storytelling: A cohesive narrative can enhance the video’s impact, making it more relatable and interesting for viewers.
Common Challenges and Troubleshooting
While creating time lapse videos can be incredibly rewarding, there can be challenges. Here are some common issues and how to overcome them:
1. Lighting Changes
Natural lighting can change rapidly, especially during sunrise or sunset. Use manual exposure settings to keep your clips consistent and avoid flickering.
2. Camera Shake
Even the slightest shake can affect the quality of your time lapse. Ensure your tripod is stable and avoid touching the camera during shooting. Using a remote shutter release can also minimize movement.
3. Overexposure/Underexposure
Monitor your exposure settings closely. Use a histogram to check for clipping and adjust your settings accordingly.
Conclusion
In conclusion, learning how to make video time lapse is an invaluable skill that can enhance your photography and videography capabilities. With proper planning, the right tools, and a bit of practice, you can create stunning time lapse videos that tell compelling stories and captivate audiences. As you explore this fascinating technique, don’t hesitate to experiment and push the boundaries of your creativity.
For more tips on photography services and real estate photography, feel free to visit bonomotion.com for comprehensive resources and professional assistance. Explore the world of photography and elevate your craft today!